
淺羽的畢業設計是 SDN 相關的課題,自然仿真會用到 Mininet,畢竟簡單無腦。首先,因爲 Mininet 主要支援 Ubuntu,而淺羽使用的是 Fedora,所以選擇使用虛擬機。
設定虛擬網路與虛擬機器
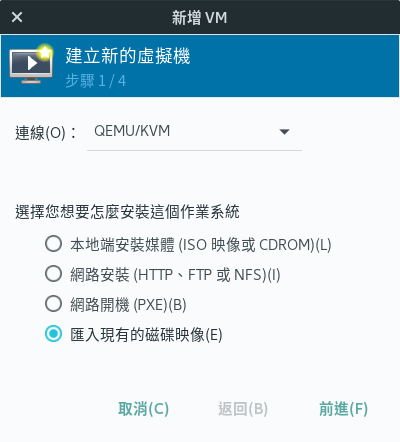
先從 Mininet 官方下載虛擬機映像檔,然後解壓縮之後,可以獲得 vmdk 檔。因爲淺羽打算使用 KVM,所以稍微轉換一下比較好:
$ unzip mininet-2.2.2-170321-ubuntu-14.04.4-server-amd64.zip
$ qemu-img convert -O qcow2 mininet-vm-x86_64.vmdk mininet-vm-x86_64.qcow2
然後加入到 libvirt 的存儲區域:
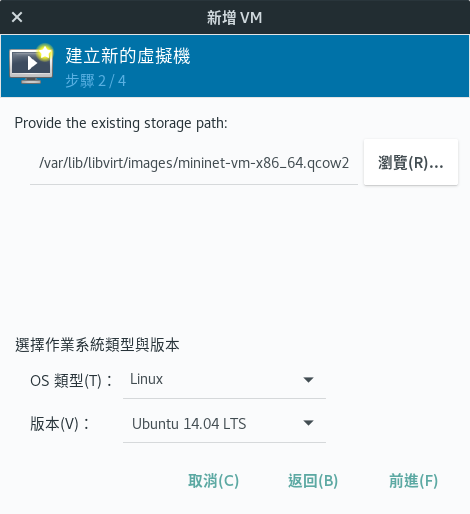
$ sudo cp mininet-vm-x86_64.qcow2 /var/lib/libvirt/images
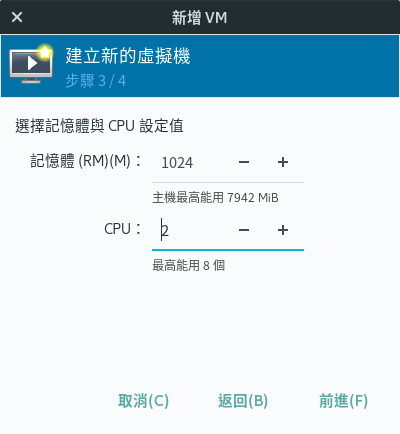
然後在 virt-manager 裏新建虛擬機器就可以了。
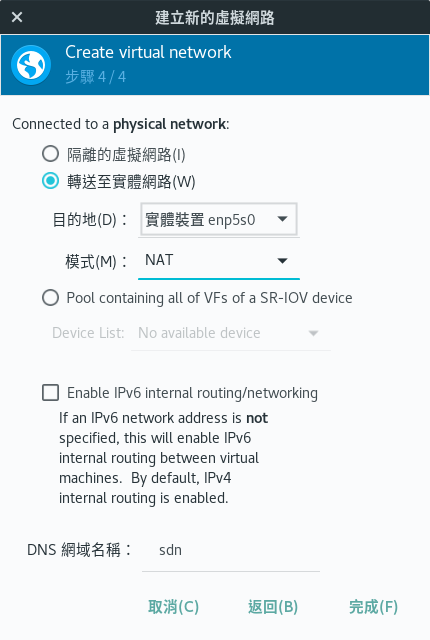
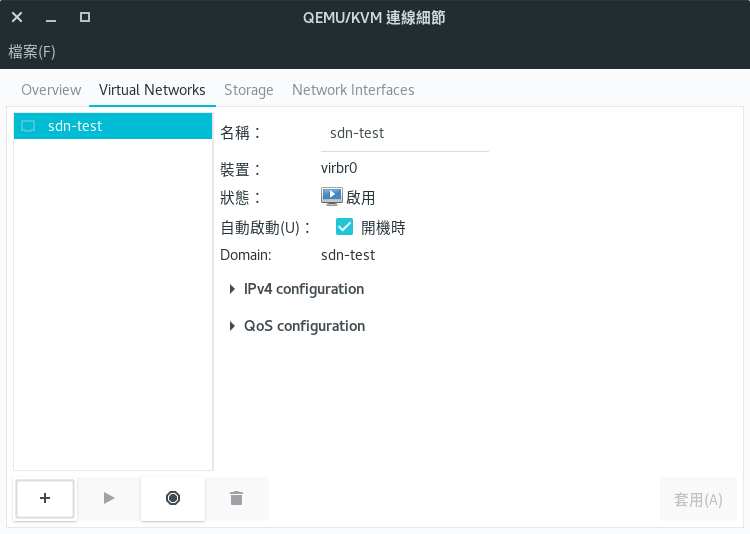
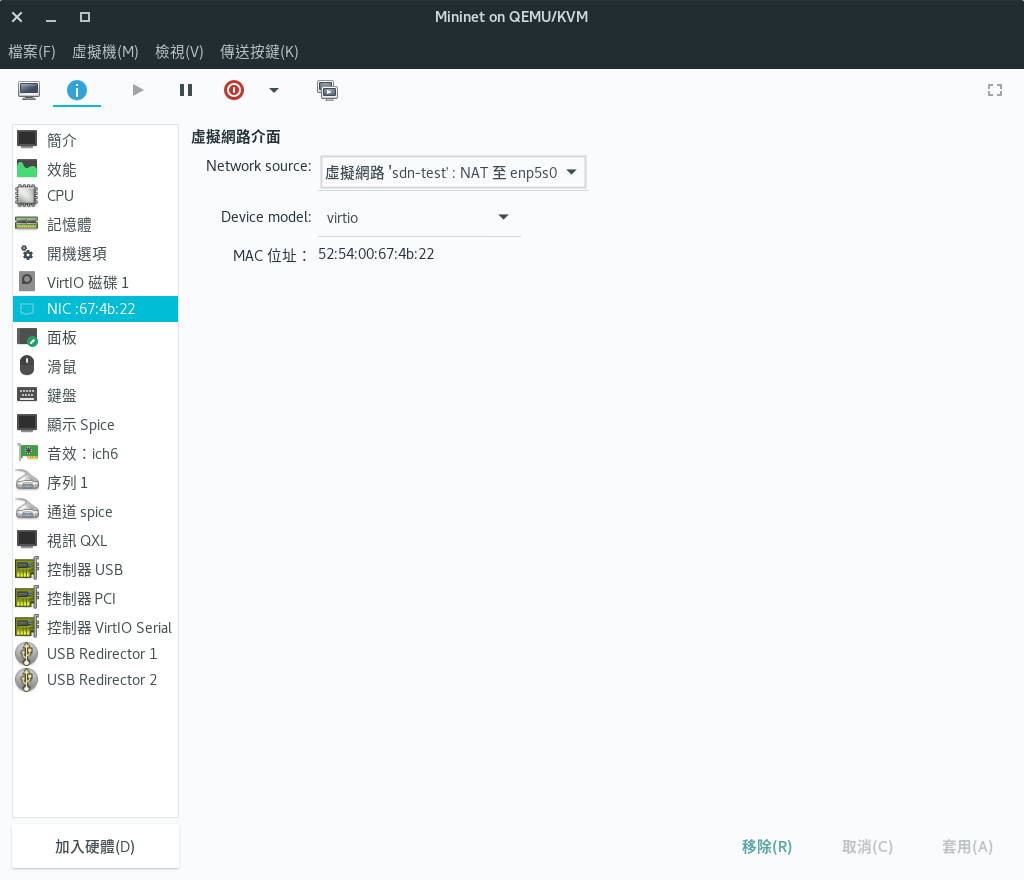
接下來需要給 Mininet 一個獨立的網路。右擊 QEMU/KVM,選擇「詳細資料」,新建立一個虛擬網路。

然後正常開機就可以了。
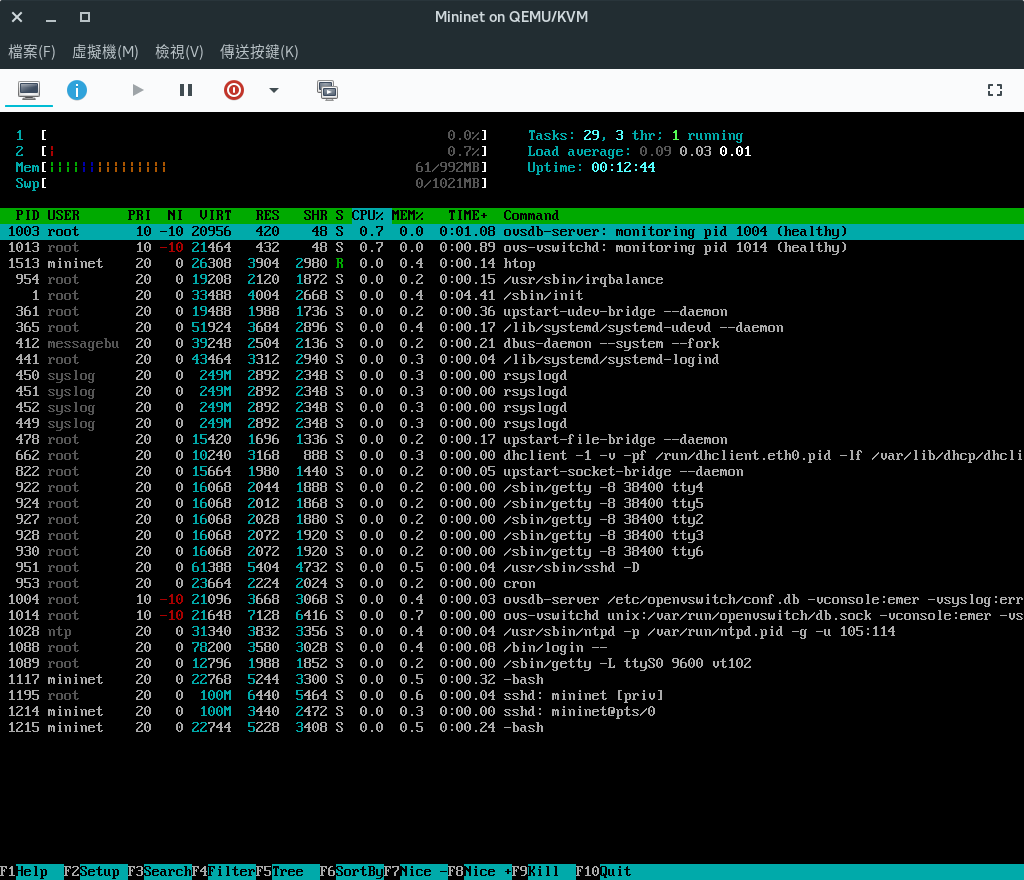
這個時候可以查看一下 Mininet 的 IP,ssh 過去了。當然了,最好應該加 -Y 參數,可以把 X 轉發到宿主:
$ ssh -Y [email protected]
Welcome to Ubuntu 14.04.5 LTS (GNU/Linux 4.2.0-42-generic x86_64)

* Documentation: https://help.ubuntu.com/
Last login: Sun Apr 1 01:34:59 2018 from 192.168.100.1
mininet@mininet-vm:~$
使用 MiniEdit
然後隨便玩一下,打開個 MiniEdit,做個網路拓撲:
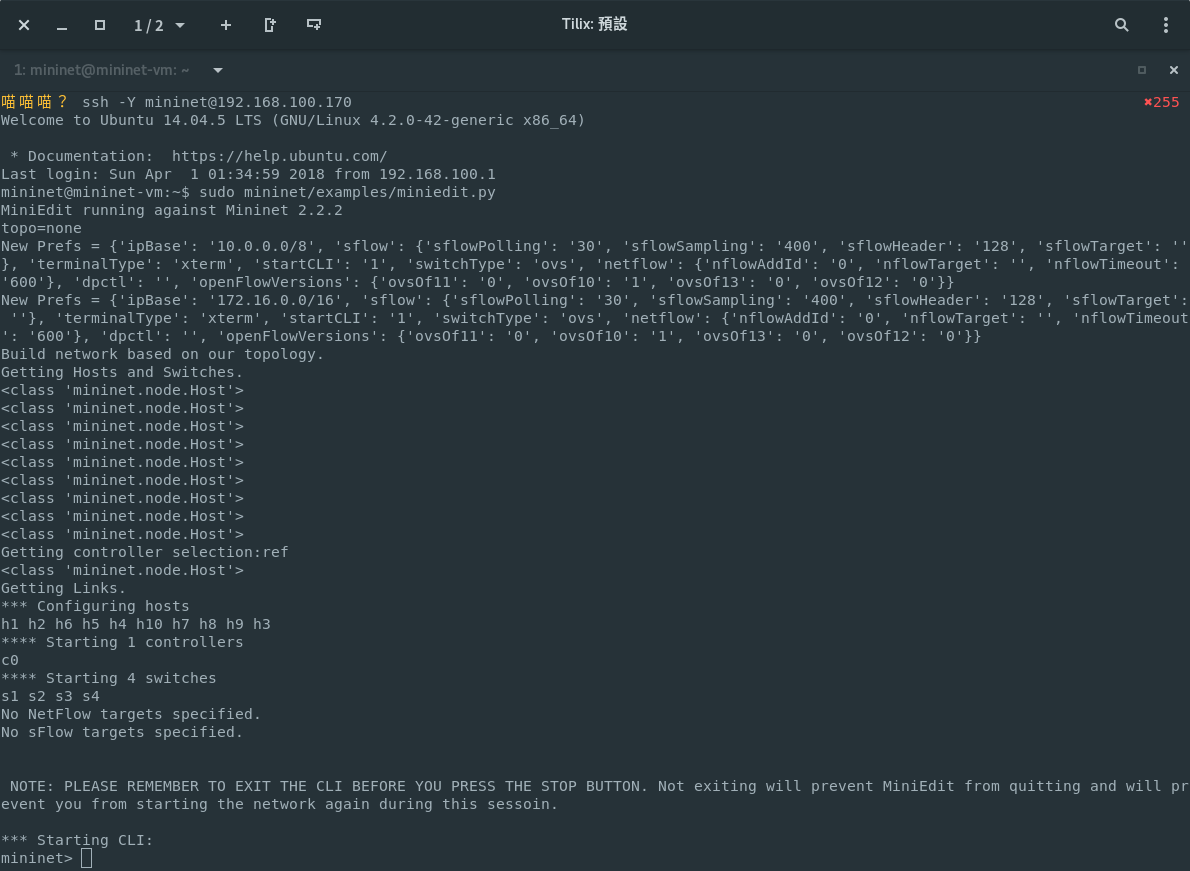
$ mininet/examples/miniedit.py然後宿主會彈出新視窗,但是X Client 是 Mininet VM。
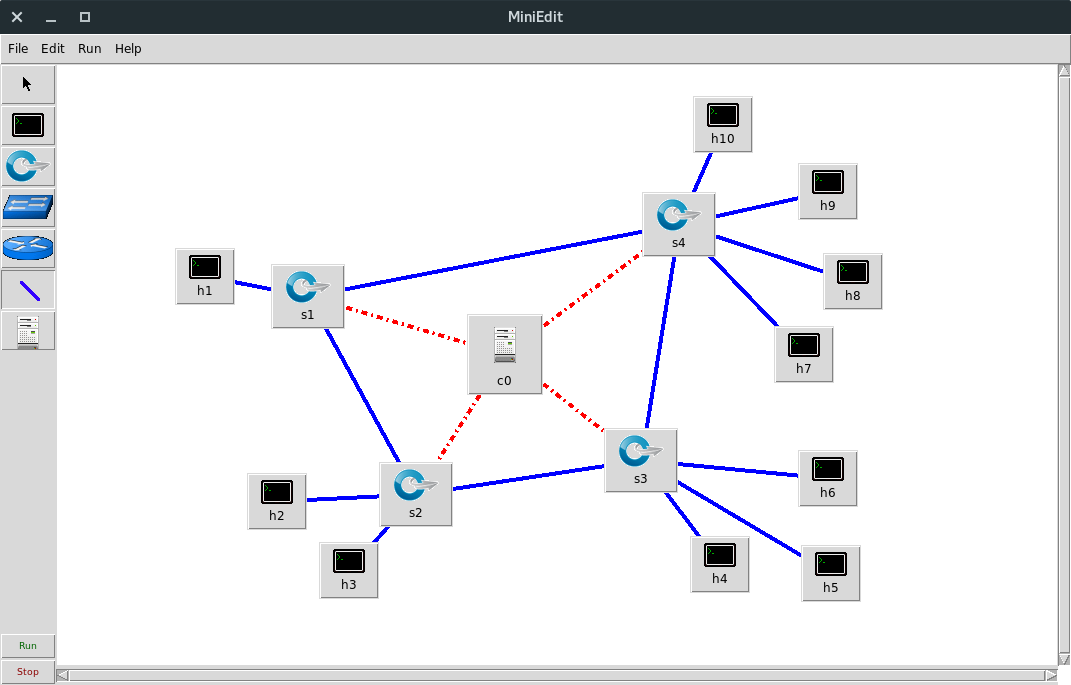
設定好拓撲之後,要注意在「Edit」-「Preferences」裏,選擇「Start CLI」,再點擊左下角的「Run」即可加載拓撲。另外,在 IP Base 中,可以更改 Mininet 拓撲內的 IP 段,比如淺羽就選擇了 172.16.0.0/16 段。另外,如果啓動 CLI,則因爲 mn 指令需要 root 權限,所以 MiniEdit 也需要以 root 執行。

在結束使用時,先退出 Mininet 的 CLI,然後再點擊 MiniEdit 左下角的「Stop」即可。如果順序錯誤,可能會無法再次啓動 Mininet 或更改拓撲。

發佈留言